

Making a mirror is not as difficult as it may seem. With the right materials and tools, anyone can make a mirror in just a few steps. In this article, we will discuss the different materials and tools needed to make a mirror, as well as the step-by-step process of making one. We will also discuss some of the common use cases for mirrors and how they can be used to enhance your home décor or even create special effects in photography. So let’s get started on learning how to make a mirror!
Mirrors can be a great addition to any home, and making one yourself is easier than you might think. With the right tools and materials, you can create a beautiful mirror that will last for years to come. In this guide, we’ll walk you through the steps of how to make a mirror from scratch and provide tips on choosing the right materials for your project. Whether you’re an experienced DIYer or just getting started with crafting, we’ll help you create a unique and stylish mirror that will add character to any room in your home.
Making a Basic Mirror
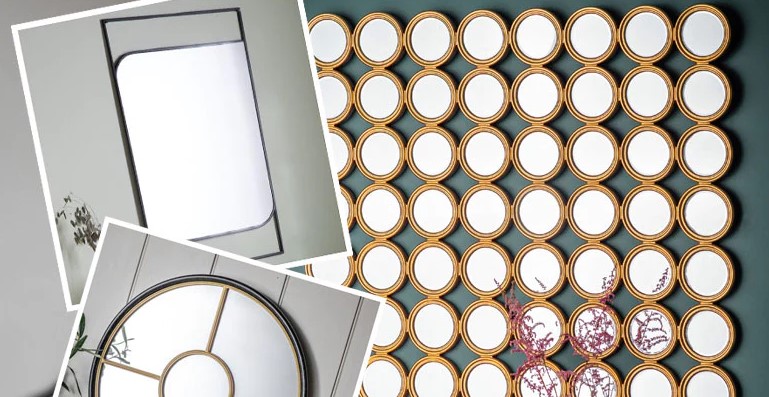
Making a basic mirror doesn’t have to be a difficult task. With the right tools and materials, anyone can create their own custom mirror in no time. With the help of basic instructions and easy-to-follow steps, creating a beautiful mirror can be an enjoyable and rewarding experience. So grab your supplies and get ready to create your very own custom mirror! Crafting a basic mirror from scratch is an easy project that can be completed in an afternoon. With the right materials, tools and techniques, anyone can create their own custom-made mirror. From selecting the perfect frame to adding the reflective surface, this guide will take you through all the steps needed to make your very own mirror – one that will reflect your style and personality!
Remove the glass panel from a picture frame
Removing a glass panel from a picture frame can be a tricky task, but it doesn’t have to be difficult. With the right tools and know-how, you can quickly and safely remove the glass without damaging your frame or artwork. By following these step-by-step instructions, you’ll be able to easily remove the glass from your picture frame with minimal effort. Replacing the glass panel in a picture frame can be a tricky task. Fortunately, modern tools and techniques make it easier than ever before. With the right tools, you can remove the old glass panel quickly and safely, without damaging your frame or artwork. Learn how to remove the glass panel from your picture frame with these simple steps.
Clean the glass panel with rubbing alcohol
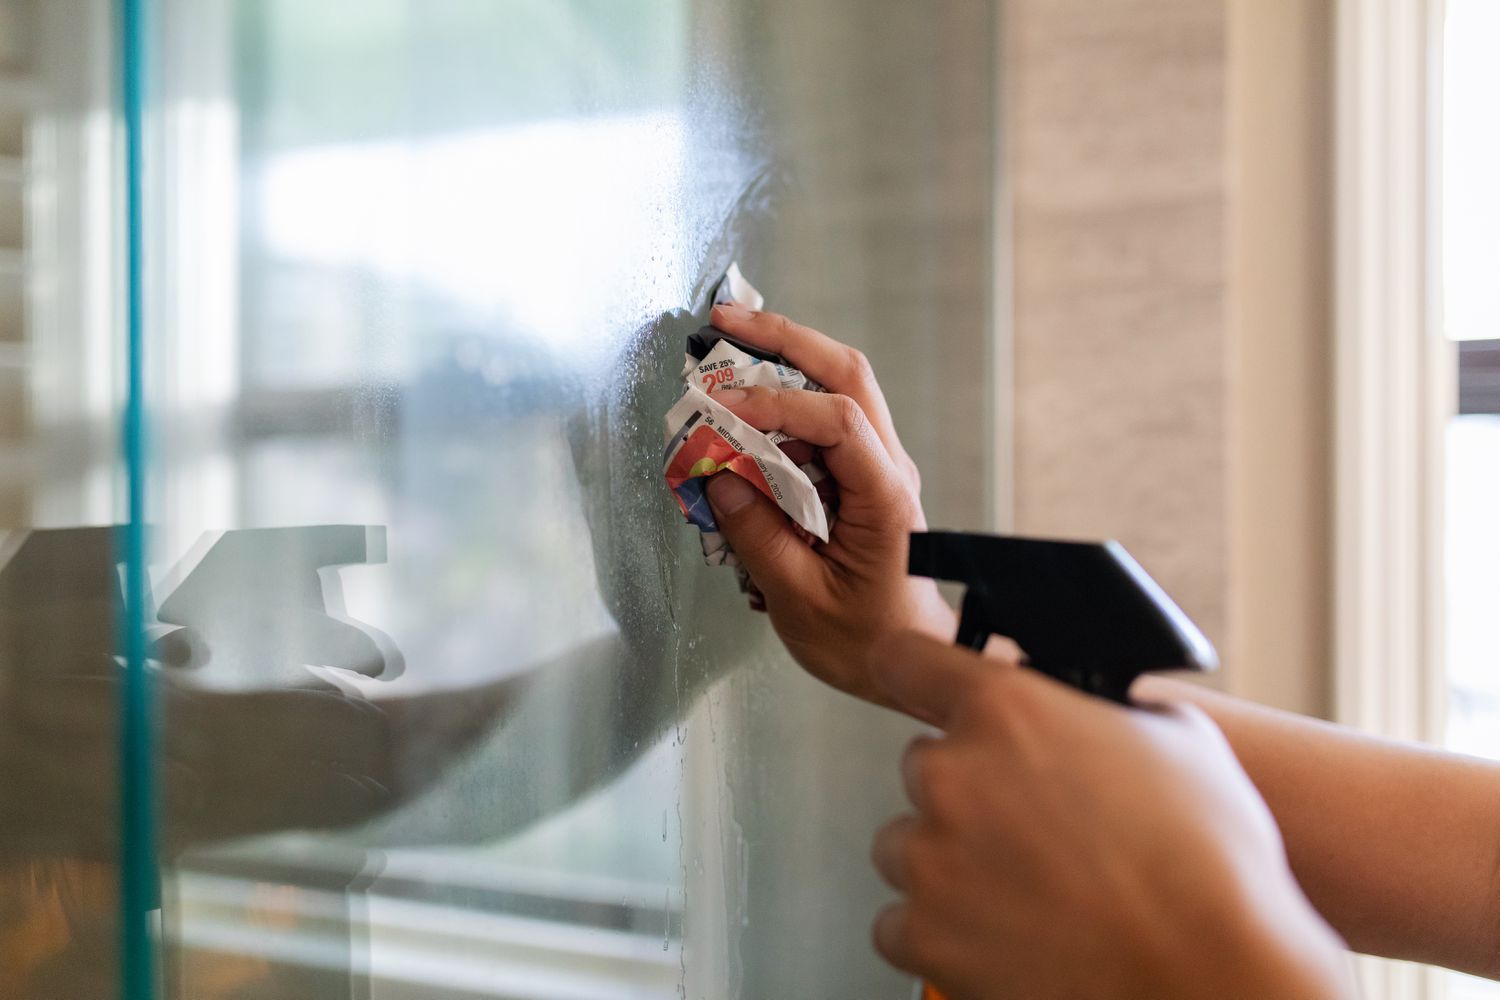
Keeping glass surfaces clean can be a daunting task. However, with the help of rubbing alcohol, it can be done quickly and effectively. Rubbing alcohol is a powerful solvent that can dissolve dirt, grime and grease from glass surfaces easily. It also leaves behind no residue or streaks, ensuring that your glass panels remain crystal-clear and sparkly! Cleaning glass panels can be tedious and time-consuming, but with the help of rubbing alcohol, you can get the job done quickly and easily. Rubbing alcohol is known for its strong cleaning properties, so it is perfect for getting rid of dirt and grime on your glass panel. Plus, it does not leave behind any residue or streaks, so your windows will look as good as new!
Set the glass panel down in a well-ventilated area
Setting a glass panel down in a well-ventilated area is essential for its safe installation. Proper ventilation helps to reduce moisture and dust accumulation and prevents the buildup of hazardous gases that can corrode the glass over time. Additionally, it helps with air circulation, which is necessary for the panels to remain cool and avoid any damage from extreme temperatures. By setting your glass panel down in a well-ventilated area, you are taking steps to ensure its longevity and optimal performance. Installing glass panels can be a daunting task, but setting them down in the right area is essential for a successful installation. To ensure the safety of you and your property, it’s important to find a well-ventilated area that is free from any potential hazards when setting down your glass panel. This will ensure that the glass panel is placed in an optimal location with proper air circulation and no risk of fire or other potential dangers.
Shake up your can of mirror-effect spray paint
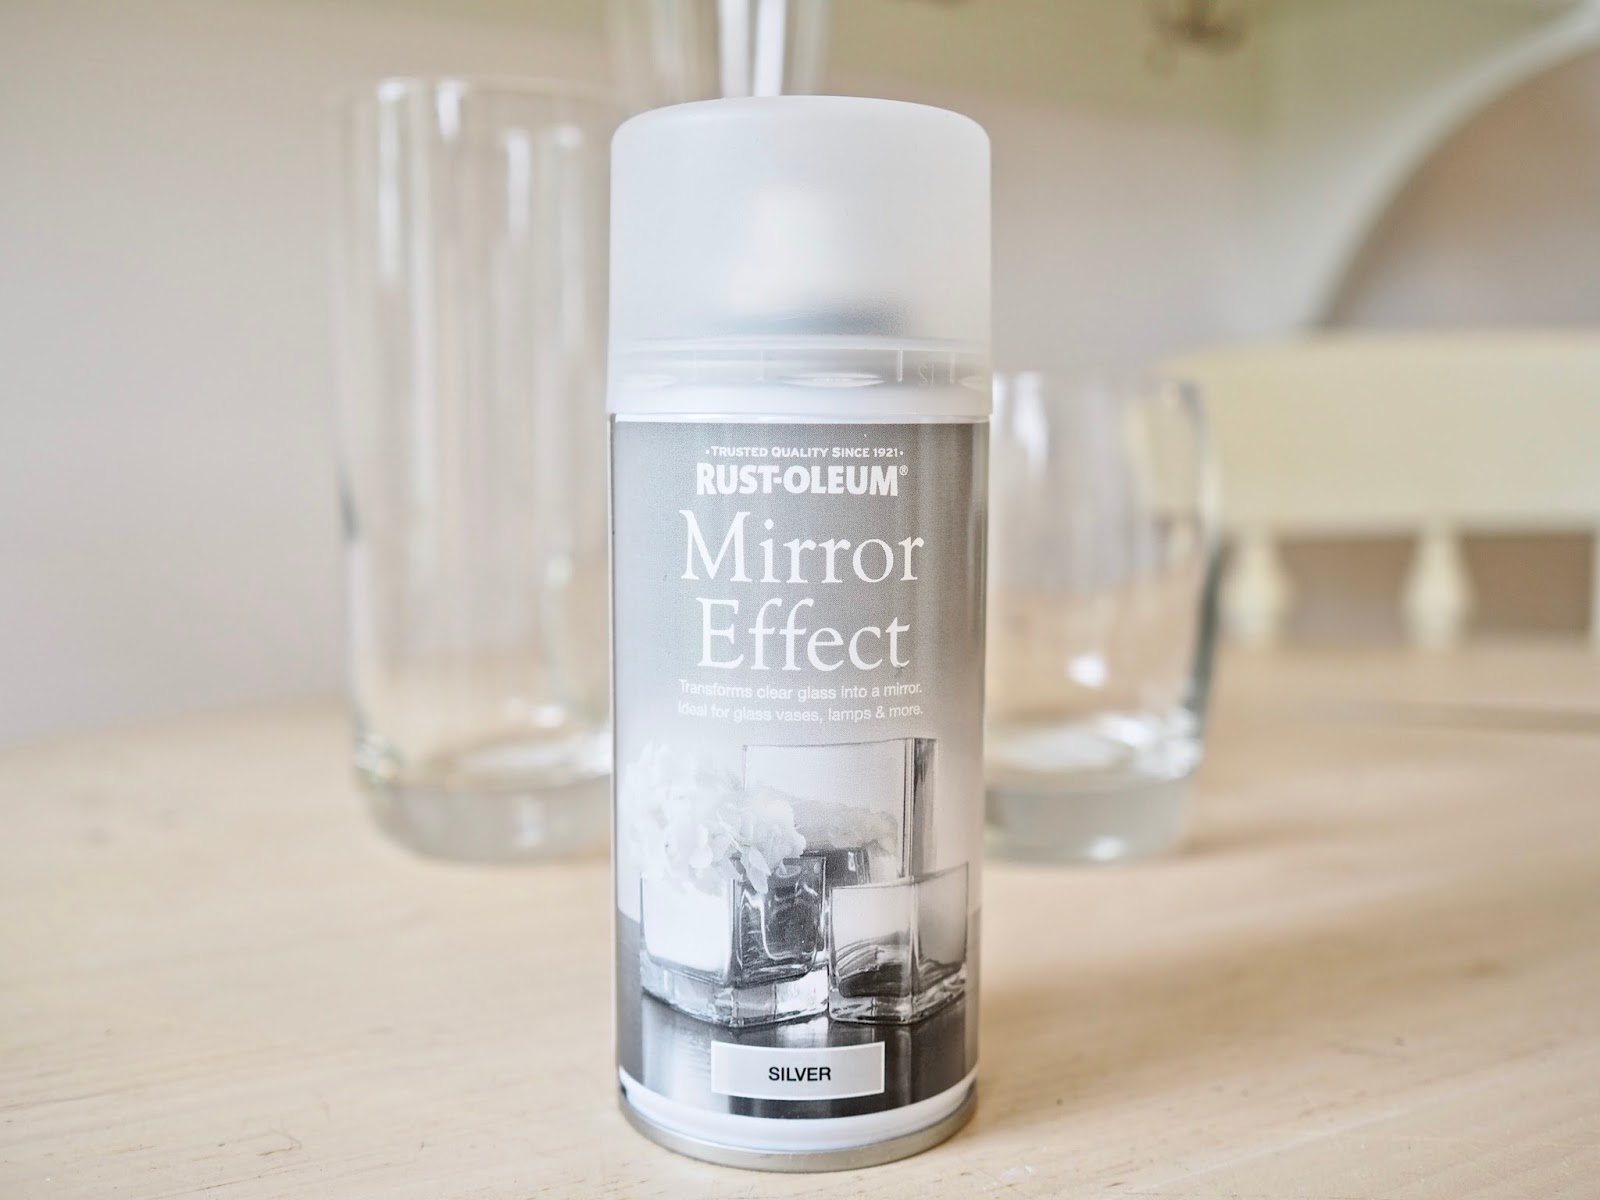
Are you looking to give your home a unique makeover? Look no further than mirror-effect spray paint. With just a few simple steps, you can give any room an otherworldly, reflective look that will turn heads. This easy-to-use product is perfect for adding a unique touch to furniture, accents and more. Shake up your can of mirror-effect spray paint and get creative! Give your projects a stunning, reflective finish with mirror-effect spray paint. This revolutionary product is designed to provide a smooth, glossy finish that will make any project stand out from the rest. Whether you’re looking to add an eye-catching touch to your furniture or give your walls an extra sparkle, this spray paint is the ideal choice. Its easy application process makes it simple to achieve amazing results in no time. So shake up your can of mirror-effect spray paint and get ready to make a statement!
Apply 5 light coats of paint, allowing each one to dry
Painting is a great way to transform a room or surface, but it can be time-consuming and tedious. To ensure the best results, it’s important to apply paint in thin layers. Applying five light coats of paint, allowing each one to dry in between applications, ensures that the paint will adhere better and last longer. With this method, you’ll be able to enjoy your freshly painted surface for years to come! Painting can be tedious and time consuming. However, applying five light coats of paint is the key to achieving a beautiful and long-lasting finish. By allowing each coat to dry, you’ll ensure the paint adheres properly and won’t chip off over time. With this approach, you’ll have a smooth, even finish that will last for years to come.


